Create a CNAME Record on Squarespace for Custom Domains
If you're using a Squarespace-registered domain and want to set up a custom subdomain such as link.yourdomain.com to work with Linkly, you'll need to add a CNAME record pointing link to domains.linklyhq.com.
This guide walks you through the process step-by-step.
How to add a CNAME in Squarespace domains
1
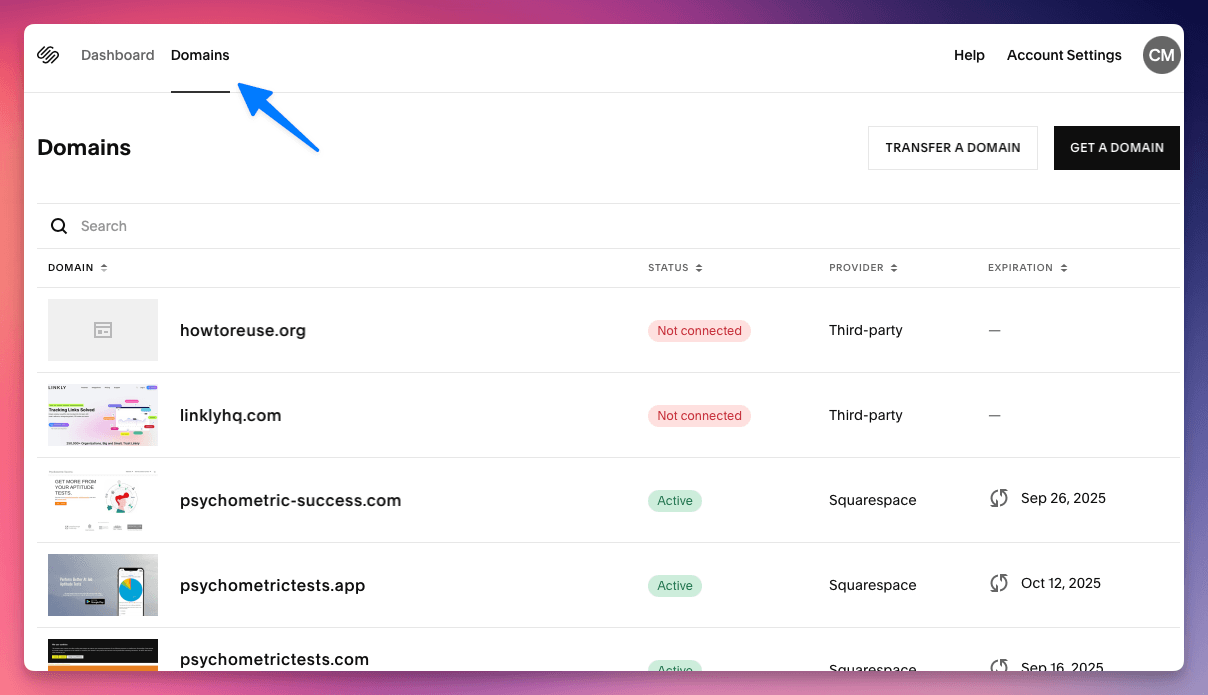
Log in to Squarespace
- Go to squarespace.com and log in.
- In the Home Menu, click Settings → Domains.
- Find and click on the domain you want to edit (e.g.,
yourdomain.com).
Log in to Squarespace
2
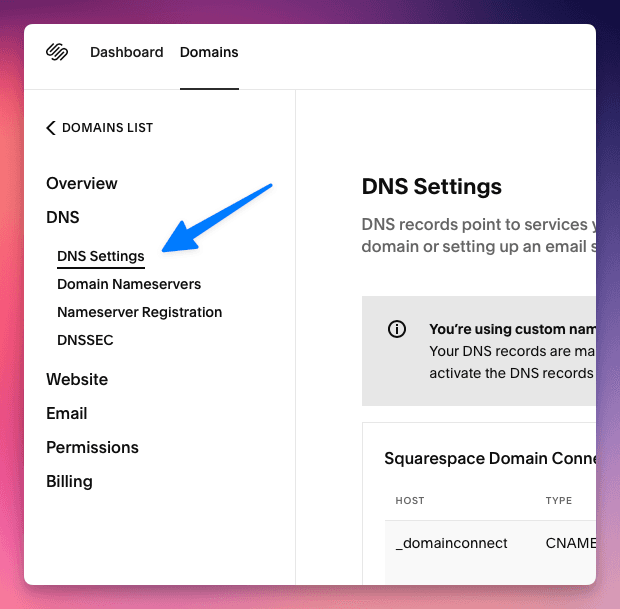
Access DNS Settings
- In the domain panel, click DNS Settings.
- Scroll to the Custom Records section.
Access DNS Settings
3
Add the CNAME Record
- Click Add Record.
- Set the Type to
CNAME. - In the Host field, enter:
link - In the Points to field, enter:
domains.linklyhq.com - Leave TTL as default (usually 3600 seconds or 1 hour).
Click Save.
This will create a subdomain link.yourdomain.com that points to Linkly's domain infrastructure.

Add the CNAME Record
4
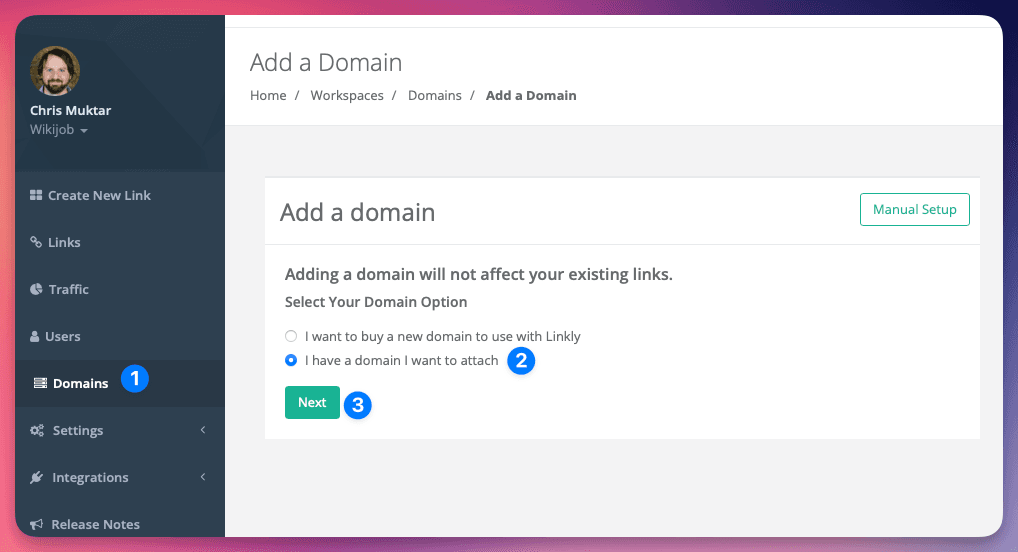
Final Step: Verify in Linkly
Log in to Linkly, go to your custom domain settings, and add link.yourdomain.com as your custom domain. Linkly will validate the DNS and provision SSL automatically.
DNS propagation may take up to 24 hours, but typically completes within a few minutes.
Final Step: Verify in Linkly
Troubleshooting
- ✅ Make sure the
linkrecord is not already in use. - ❌ Don’t use
www.linkor any other prefix unless configured explicitly. - 🔄 Use a DNS lookup tool (like dnschecker.org) to verify propagation.
Get 100 short links and track 500 monthly clicks for free.